As the popularity of metal roofing continues to grow among DIY enthusiasts and homeowners alike, understanding advanced installation techniques can make a significant difference in the success of your project. This comprehensive guide will delve into the more sophisticated aspects of metal roofing installation, offering insights that extend beyond basic procedures to ensure durability and performance.
Understanding Metal Roofing Materials and Tools
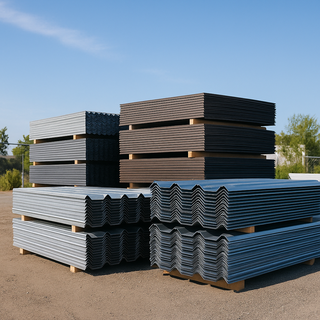
Before diving into the installation process, it's crucial to understand the materials and tools required for metal roofing. Different types of metal materials—such as aluminum, steel, and copper—have specific properties that affect the installation process. For instance, aluminum is lightweight and resistant to corrosion, making it ideal for coastal areas, while copper is known for its longevity and distinctive appearance that develops a patina over time.
Essential Tools:
- Metal shears for cutting panels to size
- Screw gun with appropriate metal roofing screws
- Tape measure and chalk line for precise placement
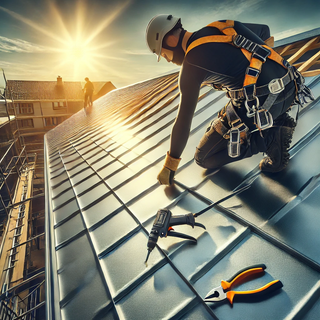
- Safety equipment, including gloves, goggles, and a harness
Preparation and Safety Measures
Proper preparation is key to a successful metal roofing installation. Begin by ensuring the roof deck is solid, clean, and smooth. Remove any old roofing material and repair damaged decking. Applying a layer of roofing underlayment, such as synthetic sheeting, provides an additional barrier against moisture and enhances roof durability.
Safety cannot be overstressed when working on roofing projects. Always use a safety harness, work with a buddy, and avoid windy or wet conditions. Ensure ladders and scaffolds are secure, and keep your workspace clean to prevent accidents.
Installation Techniques
1. Measuring and Cutting Panels: Carefully measure your roof to determine the layout of the panels. Cut the panels to size, allowing for overhangs that can range from 1 to 1.5 inches, which help in directing rainwater away from the structure.
2. Panel Alignment and Securing: Begin at the roof’s edge and lay panels perpendicular to the slope. Secure panels with screws at the top ridge first, ensuring they align with the roof’s peak for a uniform appearance. Use a chalk line to keep rows straight as you attach panels down the slope.
3. Sealing and Waterproofing: Apply sealant along the edges of the panels and at any joints or intersections to prevent water infiltration. Special attention should be given to the areas around vents and chimneys where flashing and extra sealants are necessary to create a watertight barrier.
4. Installing Trim and Finishing Touches: Trim plays a critical role in protecting the edges of the roof and providing a finished look. Install trim along the eaves, rakes, and ridge, securing it over the edges of the panels. Caulk any gaps where the trim meets the roof and the walls to ensure complete waterproofing.
Advanced Tips for Longevity
- Thermal Movement: Allow for thermal expansion and contraction in your installation. Metal panels can expand and contract with temperature changes, so it’s important to install them in a way that allows for this movement without causing damage.
- Noise Reduction: To minimize noise from rain or hail, consider using noise-reducing underlayment or insulation that can absorb sound.
Conclusion
Advanced installation techniques for metal roofing not only ensure that your roof is structurally sound and aesthetically pleasing but also extend its lifespan and enhance its performance. By taking the time to understand these methods and apply them carefully, you can achieve a roofing system that stands the test of time. Learn more at TopTierMetals.com


